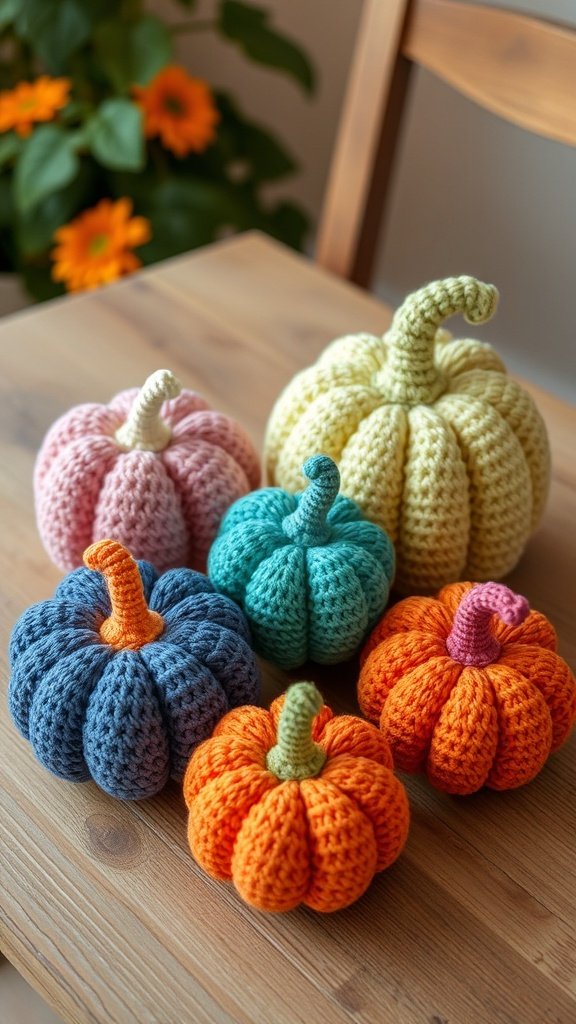
Cute Fall Pumpkins: DIY Crochet Pattern
Nothing says cozy fall vibes quite like pumpkins – but you don’t need a trip to the pumpkin patch to bring autumn charm into your home. With just a bit of yarn and a crochet hook, you can make your own DIY crochet pumpkins that are perfect for decorating mantels, dining tables, or even gifting.
What You’ll Need
- Medium-weight yarn (orange, cream, mustard, or any fall shade)
- Crochet hook (size 4.0–5.0 mm works well)
- Yarn needle
- Fiberfill stuffing
- A small stick or cinnamon stick for the stem

Basic Instructions
- Crochet the Body
Start by chaining enough stitches to form the pumpkin’s width (usually 25–30 chains). Work in rows of single crochet until the rectangle is about twice as long as it is wide. - Shape the Pumpkin
Fold the rectangle in half and stitch the short sides together to form a tube. Gather one open end tightly with yarn, secure it, and turn it inside out. - Stuff & Close
Fill with fiberfill stuffing until firm. Gather the other end and stitch closed, pulling tightly to form the pumpkin shape. - Create Ridges
Using a long piece of yarn, wrap around the pumpkin 5–6 times and pull snug to make ridges. Tie securely. - Add the Stem
Insert a small stick or cinnamon stick into the top, and secure with hot glue if needed.
Tips & Variations
- Try chunky yarn for oversized pumpkins or cotton yarn for mini ones.
- Experiment with different colors — white pumpkins add a modern farmhouse touch, while mustard or green make a rustic look.
- Add a bow, twine, or felt leaves for extra charm.
These crochet pumpkins are quick, beginner-friendly, and endlessly customizable. Plus, they last year after year — no carving required!


