Easy Steps to Create Your Own DIY Natural Makeup Remover
Exploring the realm of natural, do-it-yourself beauty products is an exciting venture for those interested in exquisite skin care. This essay embarks on a captivating journey into understanding a variety of natural ingredients. We examine their impact on different skin types and their efficacy as makeup removers, as well their role in the preparation of a DIY makeup remover, their storage and preservation conditions, and finally, their application and testing methods. Olive oil, coconut oil, witch hazel, and jojoba oil are amongst the remarkable natural ingredients that take centerstage.
Understanding Natural Ingredients
Understanding Natural Makeup Remover Ingredients
The type and quality of the ingredients used in DIY natural makeup removers can significantly affect their effectiveness and the overall health of your skin. Important ingredients to focus on for natural makeup removal include olive oil, coconut oil, witch hazel, and jojoba oil.
Olive Oil
Olive oil is an efficient makeup remover due to its oil base, which can break down even the stiffest mascara. It is packed with antioxidants and vitamin E that nourish and hydrate the skin. Olive oil is known to be gentle and non-irritating, making it suitable for most skin types. However, if you have oily or acne-prone skin, it’s advisable to use it sparingly as it can potentially clog pores, leading to breakouts.
Coconut Oil

Coconut oil is hailed for its hydrating and antibacterial properties, making it a popular choice for a makeup remover. It melts away even waterproof makeup effortlessly while moisturizing skin and minimizing the appearance of pores. Coconut oil is especially beneficial for dry skin, but its comedogenic nature may not make it the best choice for people with oily or acne-prone skin.
Witch Hazel
Witch hazel is known for its astringent (skin tightening) and anti-inflammatory properties. It is excellent in removing excess oil without stripping the skin or causing dryness which makes it ideal for oily and combination skin types. Witch hazel can be used on its own or mixed with olive or jojoba oil to remove makeup. Because of its astringent properties, witch hazel is less suitable for dry skin.
Jojoba Oil
Jojoba oil is one of the most skin-friendly oils as it closely resembles the skin’s natural oil, sebum. This feature makes it an exceptional makeup remover for all skin types, even for people with sensitive, dry, or acne-prone skin. Jojoba oil not only efficiently removes makeup, but it also nourishes and hydrates the skin without clogging pores or causing acne.
Remember that everyone’s skin response varies; what works for one person may not necessarily work for another. Experiment to find which natural makeup remover ingredients are best for your skin type and concerns. Also, always make sure to use high-quality, organic oils when possible for the best results.

Preparation of DIY Natural Makeup Remover
Ingredients and Measurements
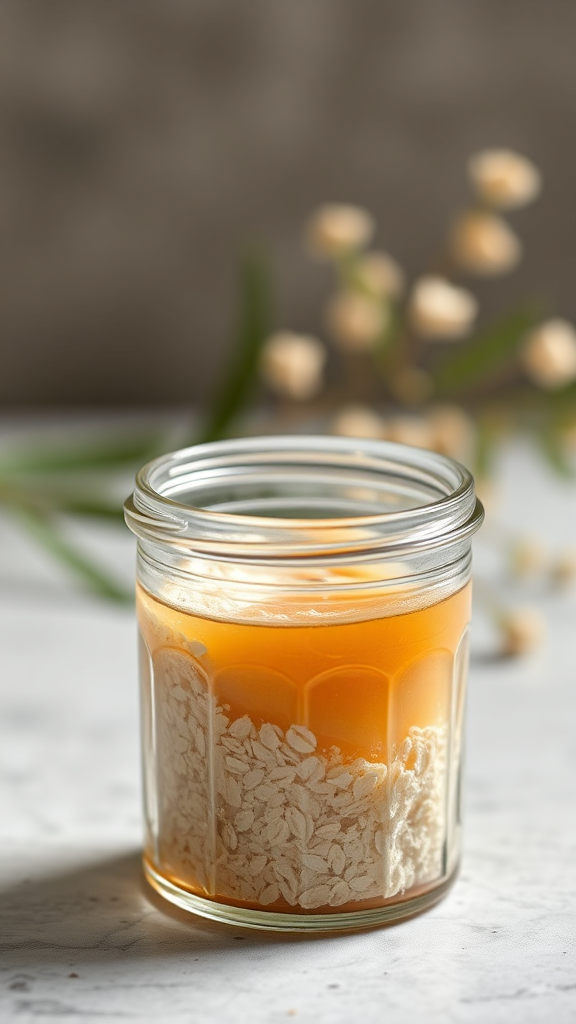
To prepare your DIY natural makeup remover, you will need the following ingredients:
- 2 tablespoons of witch hazel.
- 2 tablespoons of jojoba oil or sweet almond oil.
- 2 tablespoons of filtered water.
- A clean, empty container for storing.
Tools Needed
The tools you’ll need for preparing your DIY natural makeup remover include:
- A small bowl.
- A small whisk or spoon for mixing.
- A funnel (optional, for easy transfer of the mixture into the container).
Process of Preparation
- Start off by pouring the witch hazel into the small bowl. Witch hazel is excellent for removing makeup and it helps tone the skin.
- Next, add jojoba oil or sweet almond oil to the bowl. Both types of oil are great for moisturizing the skin. Jojoba oil closely matches our skin’s natural oil, while sweet almond oil is light and can easily be absorbed by the skin.
- After that, add your 2 tablespoons of filtered water to the bowl. This helps to dilute the mixture and makes it easier to apply.
- Now, you can use your small whisk or spoon to thoroughly mix all the ingredients together.
- The next step is to transfer the mixture into the container. This is where your funnel comes in handy (if you have one). If not, you can simply pour the mixture carefully into the container to prevent spillage.
- Finally, make sure the container is properly sealed when not in use. To apply the remover, gently shake the bottle to mix the ingredients and apply using a cotton pad.
Remember, always do a patch test before applying new products to your skin. Even natural ingredients can cause allergic reactions in some individuals.

Storage and Preservation of Natural Makeup Remover
Proper Storage Conditions for Natural Makeup Remover
When it comes to preserving your DIY natural makeup remover, the storage conditions play a crucial role. Ideally, it should be stored in a cool, dry place away from direct sunlight. Room temperature is typically suitable, but it can also be stored in the refrigerator for added preservation benefit.
Effect of Environmental Factors
Exposure to environmental factors such as heat and sunlight can contribute to the degradation of the ingredients in your natural makeup remover. In particular, heat can cause separation or spoilage, while light can initiate a process called photooxidation, which can reduce the effectiveness of certain ingredients.
Influence of Humidity
Humidity is another key factor to be considered when storing your natural makeup remover. Humidity can introduce moisture into your formula, causing it to become diluted or encouraging the growth of mold and bacteria. To avoid this, ensure your storage container is airtight and opened as minimally as possible.
The Role of Container Material
The type of container can also greatly influence the quality and longevity of your natural makeup remover. Glass containers are a great choice because they are non-reactive and they can help the product maintain its stability over a longer time frame. Plastic containers, on the other hand, might react with some ingredients in the makeup remover, affecting its quality and effectiveness.
The Importance of Cleanliness
Finally, the cleanliness of both the storage container and the method of application can affect the preservation. The container must be properly cleaned and sterilized before introducing the makeup remover. Similarly, if using a reusable cloth to apply the makeup remover, ensure it is washed regularly to prevent bacterial contamination.
Overall, it’s important to consider multiple factors when storing your DIY natural makeup remover to maintain its quality and effectiveness. Change in color, smell, or texture of your homemade product usually indicates that it is no longer safe to use and should be discarded.
Testing and Using the Natural Makeup Remover
Testing the DIY Natural Makeup Remover
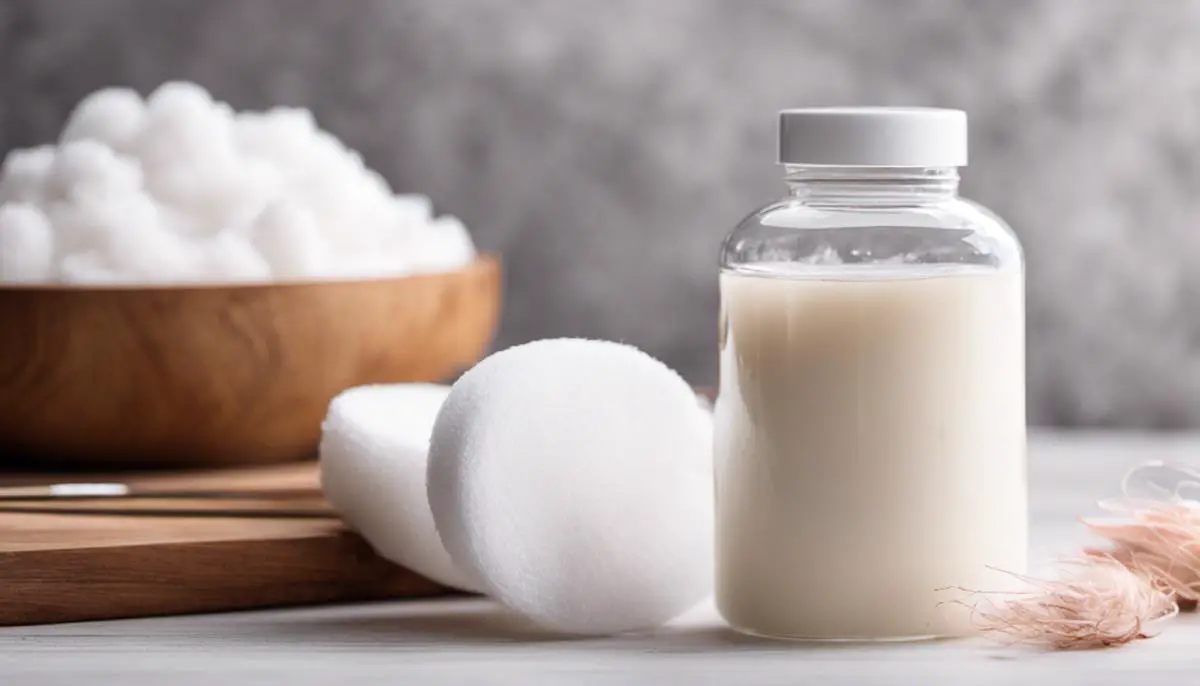
Before you begin using your DIY natural makeup remover, it’s imperative to test it on a small patch of skin to avoid any severe allergic reactions. You could use the inside of your wrist or the back of your hand to perform this patch test. Apply a small amount of your homemade makeup remover to one of these areas and wait for at least 24 hours. If you experience any itching, redness, swelling, or any form of discomfort in the applied area, discontinue use. Remember, it’s always better to be safe and avoid using any products that your skin may potentially react to.
How to Use the Natural Makeup Remover
Efficiency and safety are two key factors to bear in mind while using your new natural makeup remover. Start by washing your hands thoroughly to avoid any unwanted bacteria contact with your face. Then, take a cotton pad or reusable cloth and apply a small amount of the natural makeup remover onto it. Gently, in a downward and outward motion, cleanse your face starting from the center and working your way out. Make sure to be extra careful around the eye area, as it is more sensitive. Once the makeup is removed, rinse your face with warm water and pat it dry.
Precautions to Take During Application
While your DIY makeup remover is made of natural ingredients, it’s still important to use it cautiously. Always avoid getting it into your eyes. In case of accidental contact, rinse out thoroughly with cold water. Similarly, if your remover is made from oils, ensure you wipe it off properly to avoid clogged pores. Also, remember to keep your cosmetics and other skincare products in a cool and dry place, away from direct sunlight to maintain their efficacy.
Skin Reactions to Look Out For
Even though natural makeup removers are generally gentle on the skin, different individuals can react differently to the same product. Some potential reactions, apart from the ones during the patch test, include tightness, dryness, excess oil production, or minor breakouts. If you notice any unnatural changes in your skin after using the DIY makeup remover, discontinue usage and consult a dermatologist. Remember, natural or not, every product is not for everyone and your skin health always comes first.
Having journeyed through the labyrinth of significant natural ingredients and explored the nuances of creating and preserving a DIY makeup remover, one can confidently tread forward in their skin care routine armed with invaluable knowledge and insights. Harnessing the therapeutic potential of nature, these natural makeup removers render a gentle, effective solution to removing makeup—paving the path towards healthier, happier skin.